Make room for unfinished work
Creative work needs room for unfinished ideas as well as finished tools. In a small room, that space may be one desk, a shelf, a portable box or a corner that changes jobs at the end of the day. The challenge is not to build a perfect studio. It is to make the first useful action easy while keeping the rest of your home usable.
Start by naming the kind of work you want to do there. Writing, drawing, sewing, music production and editing all ask for different surfaces, tools and sound conditions. A laptop and notebook need less area than a cutting mat or keyboard. If you try to support every possible project at once, the room may fill with equipment that rarely helps you begin.
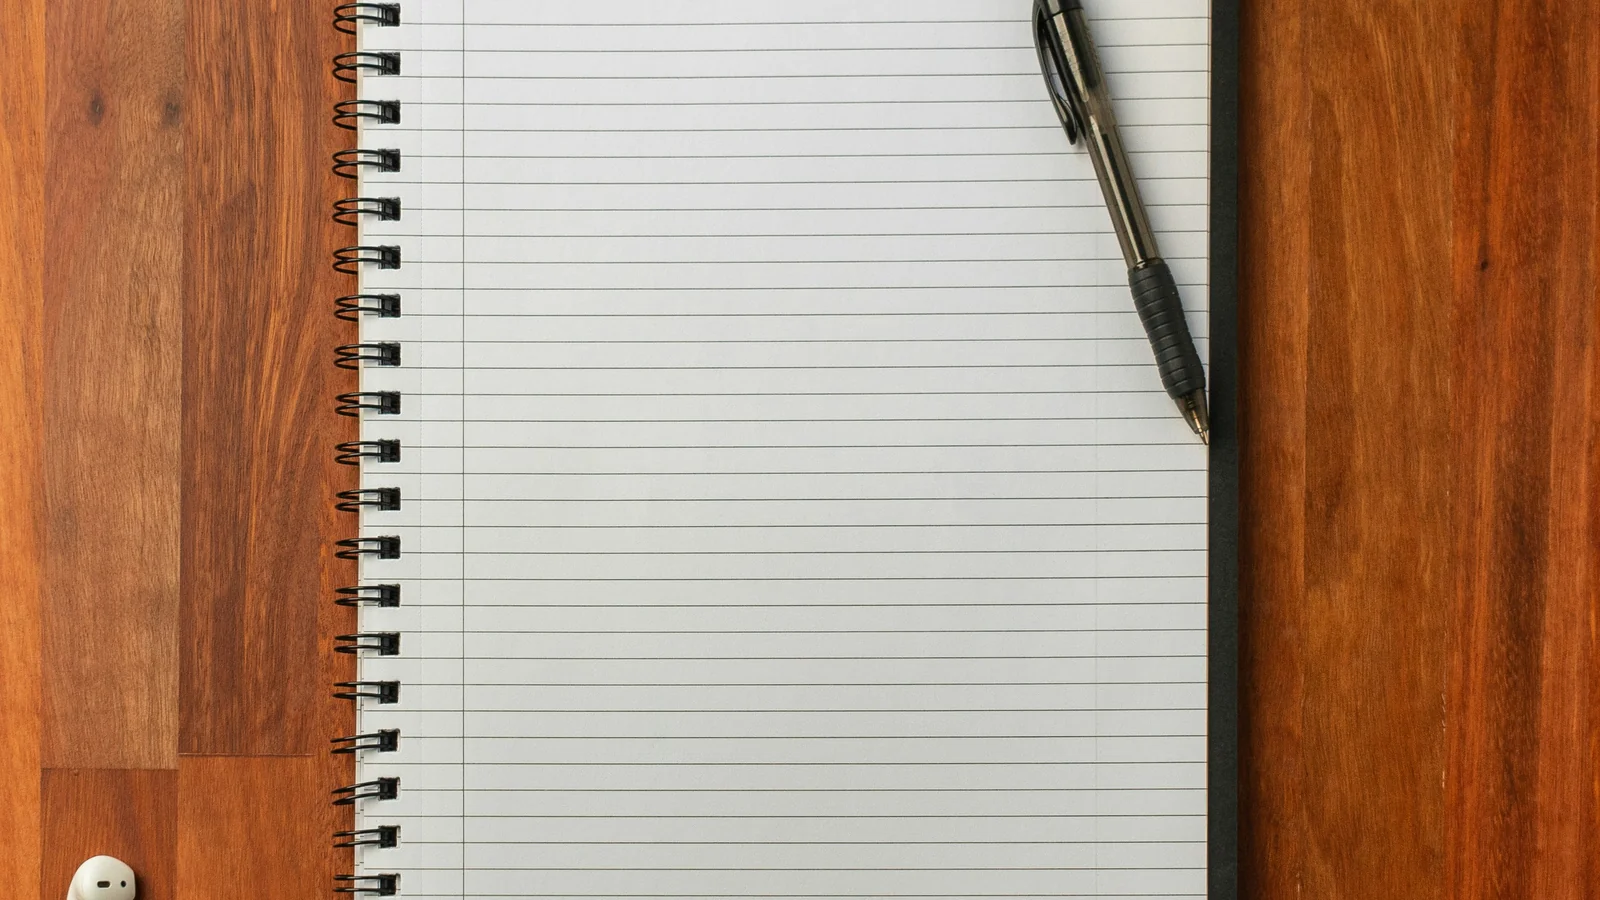
Choose one project you would like to work on regularly. List what you need to start it, what can stay visible while it is active and what can be stored away. This inventory should reflect your real practice, not an imagined future version with a dozen new tools.
Choose the working position before the furniture
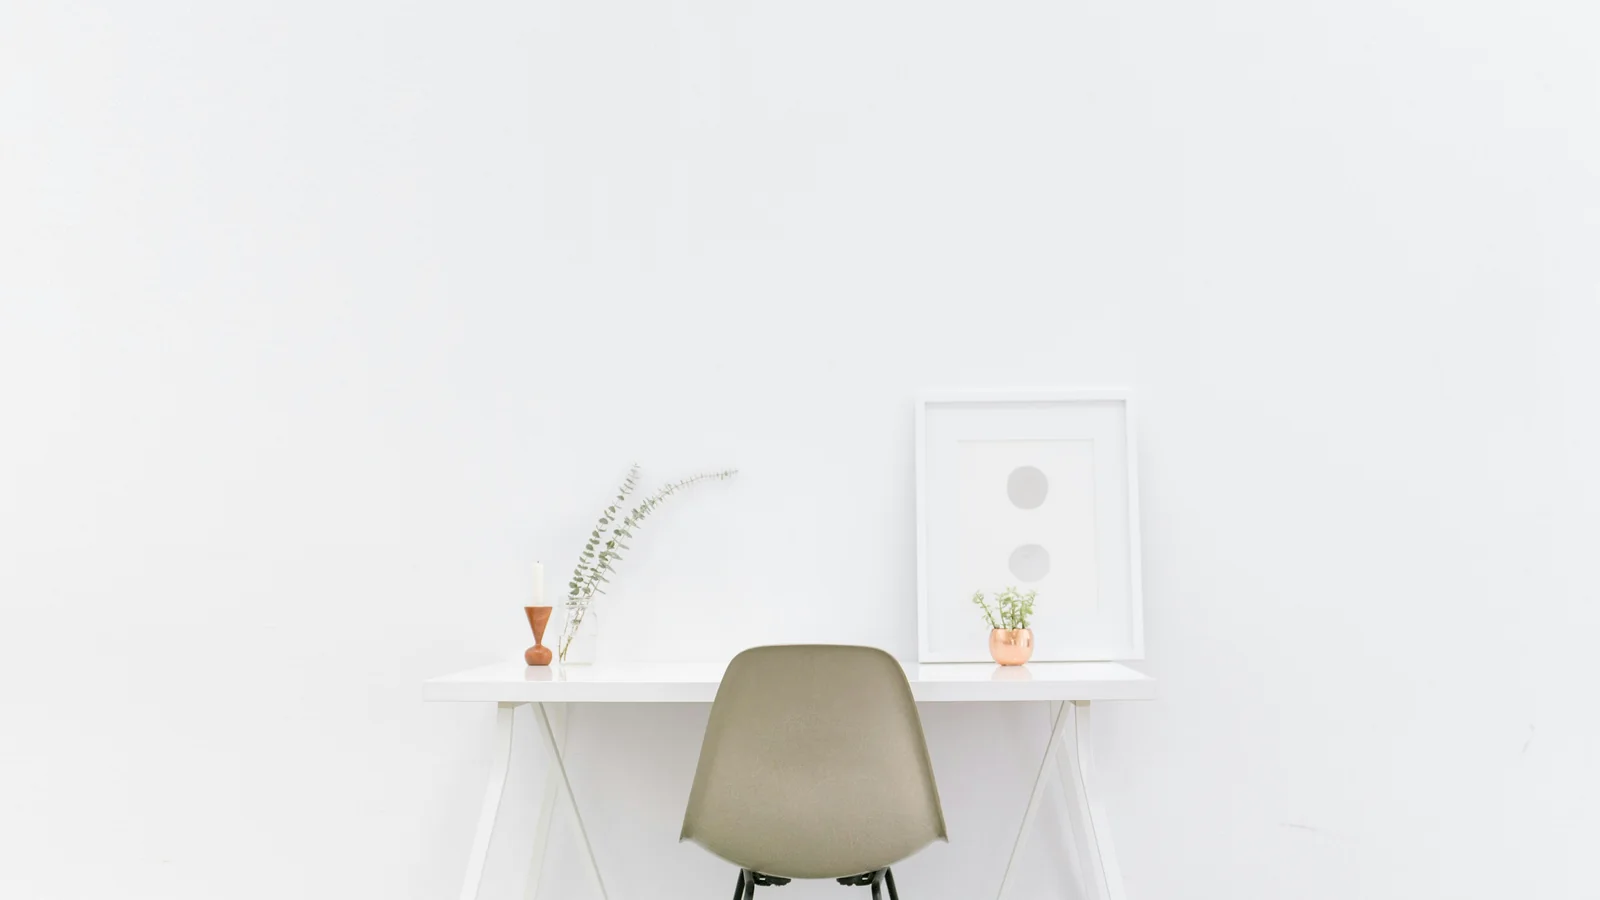
Walk through the room at the time you are most likely to create. Notice daylight, noise, heating, power outlets and the route people use. A corner may look quiet but sit beside a frequently used door. A desk near a window may offer good natural light but create screen glare in the afternoon. Spend a short session in a few possible places before moving heavy furniture.
Measure the wall, the furniture and the route around it. Include the space needed to pull out a chair, open a drawer and reach a shelf. If the desk doubles as a dining surface, test how quickly you can clear and reset it. A layout that requires moving several objects each time can become a barrier to starting.
The work surface should fit the main task, not the largest item you own. A laptop, notebook and drink may need less space than a sewing project. If the work needs a larger surface only occasionally, consider a folding table, a board placed over a smaller desk or a portable mat rather than dedicating permanent floor area to it.
Divide tools by how often you reach for them
Keep daily tools within easy reach and occasional tools together nearby. A pen, notebook, charger or small sketchbook might live on the desk. Special paper, cables, camera equipment or reference books may fit in one labelled box or drawer. This makes the active surface clear without sending every object to a distant cupboard.
Use the same storage category for objects that travel together. If you draw, pencils, eraser and current paper can share a shallow tray. If you record audio, the microphone, cable and headphones can be stored together so setup takes fewer steps. A closed box protects tools from dust, but it should open easily and have a clear label.
Avoid buying organisers before you understand what you use. For a week, place tools in one open tray or temporary box. Notice which objects you reach for and which remain untouched. Then choose storage around the evidence. A drawer divider is useful only if the drawer is accessible and the tools are easier to return than to leave on the desk.
Give active projects a visible boundary
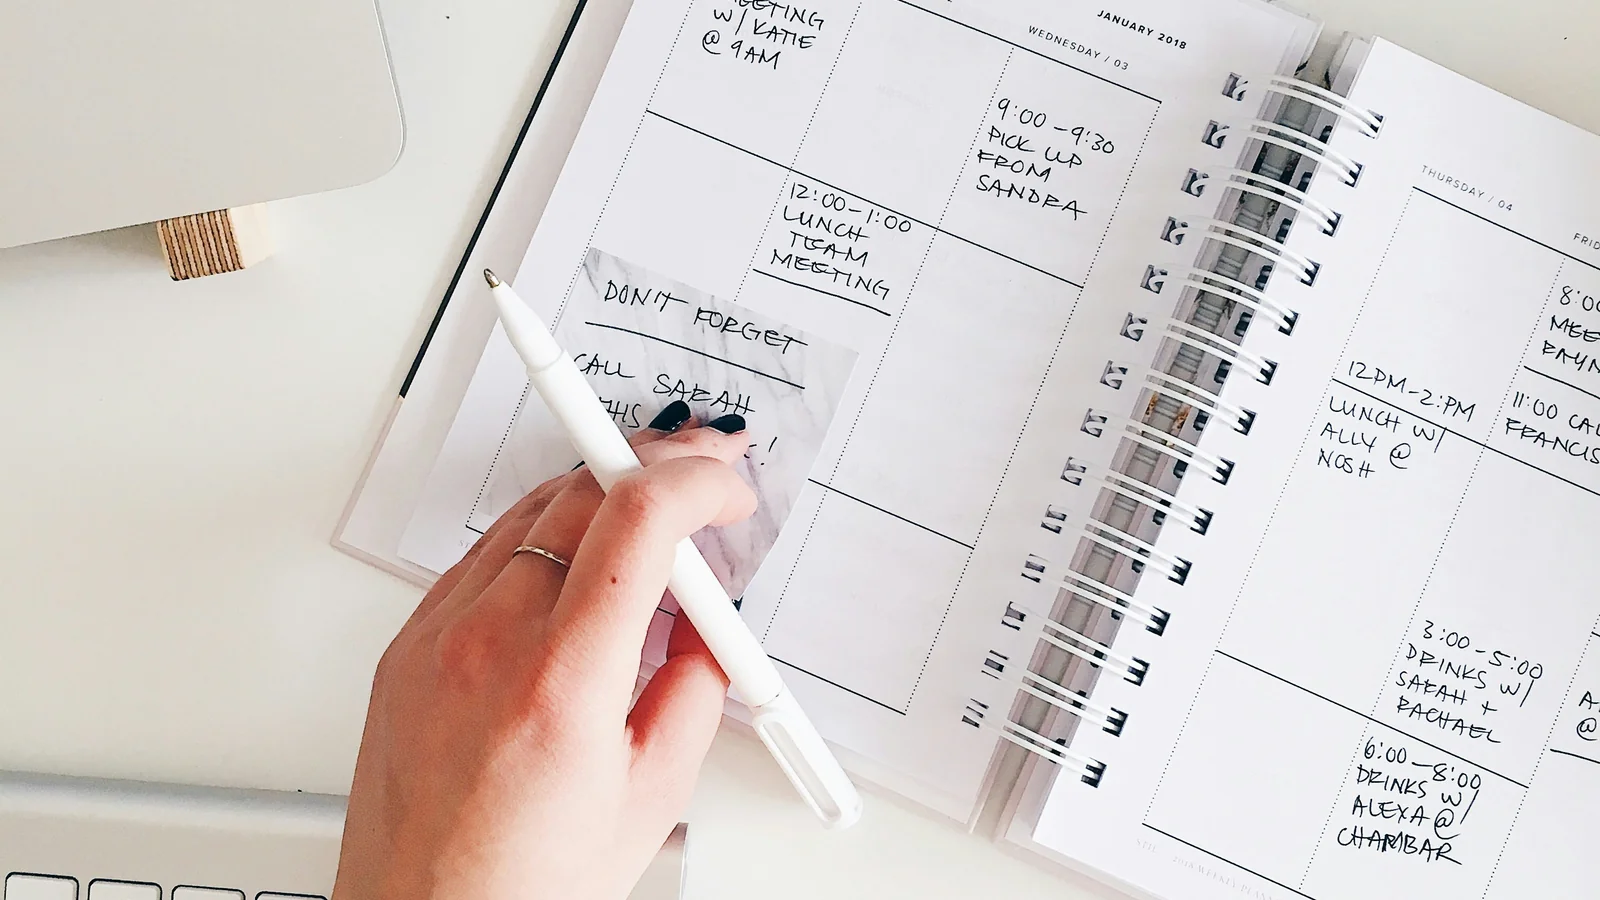
Creative projects often stall when each session begins with reconstructing what happened last time. Keep a small record of the current state: the next paragraph, the colour test, the edit to make or the question to investigate. A note on the desk or in the project file can shorten the return. It does not need to become a formal journal.
If you share the room, define a compact “active project” area. A tray, folder or shelf can hold work in progress without spreading it across the whole room. Choose a container that protects the material and can be moved if someone needs the table. Keep fragile, wet or confidential work in a suitable place rather than leaving it exposed.
For a project that must stay set up, reserve a fixed footprint and agree how long it can remain there. A small craft or music project can use a table corner if other household tasks still have room. Be realistic about the reset; if packing takes half an hour, the workspace may be hard to share.
Make light serve the task
Different creative tasks use light differently. Reading or drawing on paper benefits from a clear view of the surface, while screen work may be more comfortable with softer surrounding light to reduce contrast and glare. Natural light shifts over the day, so check the desk in the hours you actually work.
Move the screen or task surface before buying a lamp. A slight rotation can reduce reflections from a window or glossy wall. If you need a task lamp, place it where it illuminates the work without shining into your eyes or creating a bright reflection. For drawing or colour work, check how materials look in the light you use and compare with daylight when colour accuracy matters.
If the workspace also serves as a bedroom or sitting room, choose a lamp that can move or dim. Keep cords away from walking routes and keep the switch within reach. A light you can turn on quickly is more useful than one that requires moving several objects first.
Protect a comfortable position
Comfort comes from the whole setup: chair, surface height, screen position and the ability to change posture. Use the chair you already own as a starting point. Sit with your feet supported and shoulders relaxed, then adjust the screen or materials so you do not need to lean forward constantly. A footrest, books or a monitor stand can help test a different height before buying new furniture.
Creative work can involve long stretches in one position. Take breaks to stand, stretch or look away from a screen. Move a task to another seat when possible, or alternate screen work with paper work. If discomfort, numbness or pain persists, seek appropriate professional advice; a small-room layout guide cannot diagnose a health issue.
The workspace should fit the body using it. A chair that suits one person may not suit another, and a desk height that works for typing may feel awkward for sketching. Try the main task for a short session and notice where you tense or reach. Small changes made early are easier than adapting to a setup that feels wrong.
Keep noise and interruptions in view
Creative work does not always require silence, but interruptions can make it harder to return to a complex task. Notice whether noise comes from a shared room, street, appliance or phone. Try moving the work time, closing a door, using a quiet signal with housemates or playing low-level background sound if it helps.
If your work involves recording, listen for noise at the microphone rather than guessing from the room. A rug, curtain or bookcase may reduce some reflections, but soft furnishings cannot block all outside sound. Do not make expensive acoustic changes until you know which noise is disrupting the work.
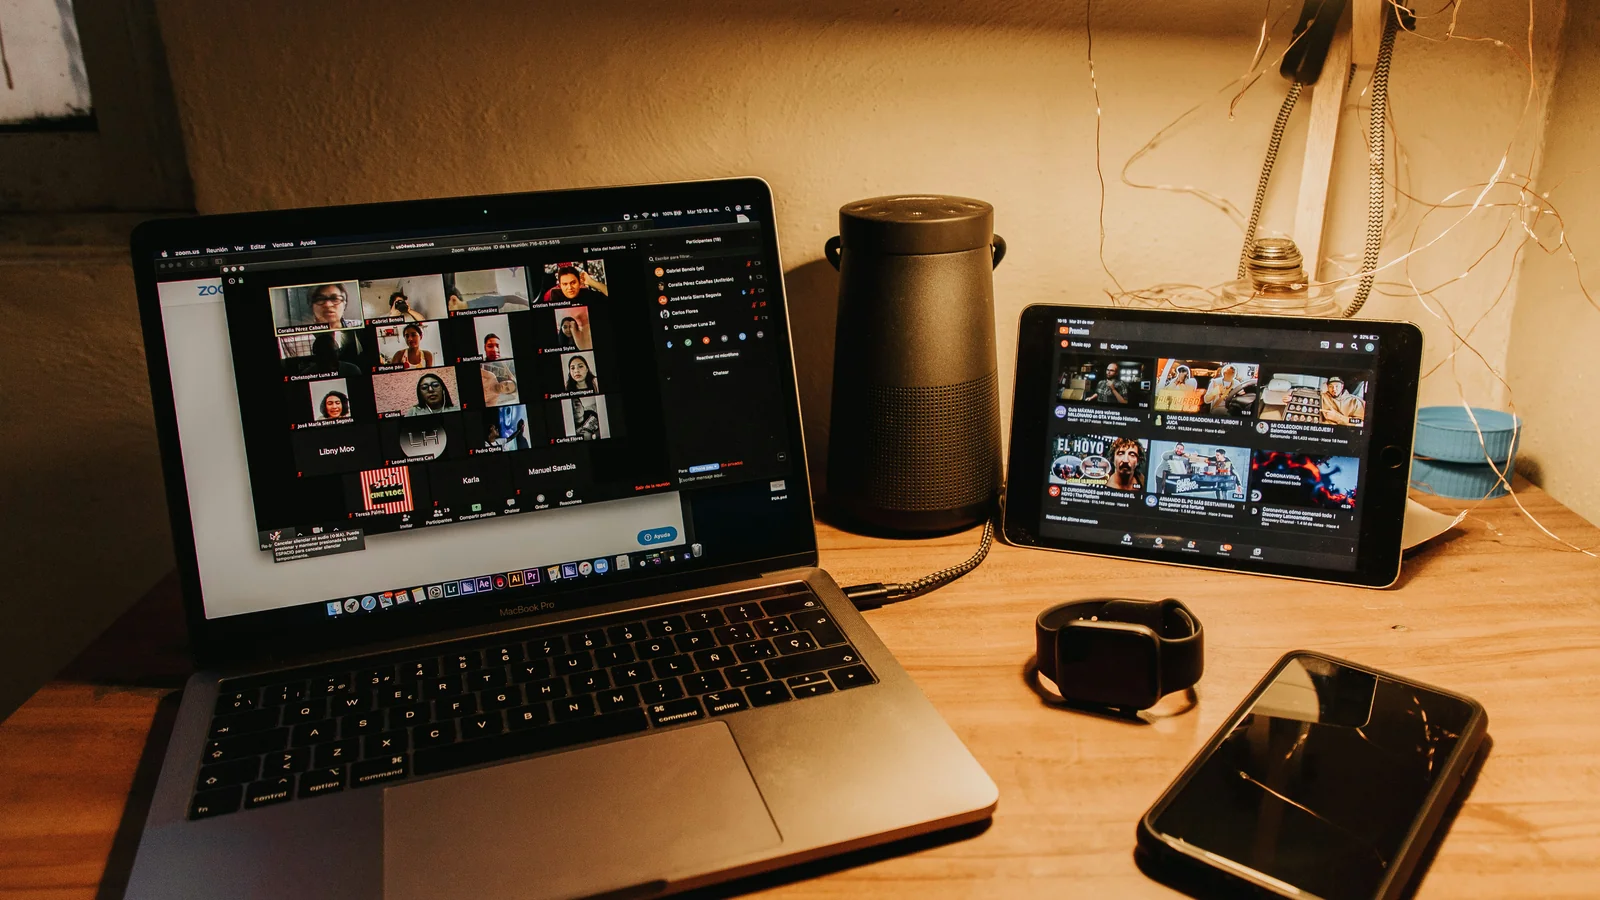
Put the phone somewhere that matches the task. A visible phone can be useful for reference or timing; it can also interrupt a writing or drawing session. Use a focus mode or place it face down during a planned work block. Keep emergency contacts and essential alerts available if needed.
Build a short setup and reset
Make a short checklist for starting: clear the surface, bring out the current project, open the relevant file and put water within reach. Keep the list small enough that it does not become a ritual longer than the work session. The best setup lowers friction rather than adding steps.
End by leaving a cue for next time. Write the next action, save the file in the right location, return tools to their tray and clear anything that needs to dry. If the room serves another purpose, pack away the minimum needed to return the table to use. A two-minute reset can protect the project while respecting the rest of the home.
If you use digital and physical materials together, decide where each belongs. A folder for project scans, a notebook for quick ideas and a tray for current materials can be enough. Avoid creating duplicate copies in several apps or boxes. Clear naming makes it easier to return after a gap.
Review the workspace after two weeks
After two weeks, check what you used. Which tools stayed on the desk? Which storage item made setup faster? Did the light or chair create a repeated problem? Was there enough room for the active project? Make one change at a time and give it a few sessions before changing everything again.
Borrow or move items from another room before buying. A lamp, small table or storage box may already solve the problem. If you need something new, write down its role, size and care needs. Measure the route and doorways as well as the desk area; delivery and assembly can be difficult in a compact home.
A small creative workspace is successful when it helps you begin, continue and stop without overwhelming the room. Choose a position around your routine, keep daily tools visible, give unfinished work a boundary and make the reset short. You do not need a dedicated studio to make meaningful work. You need a dependable place where the next step is clear.