Two jobs, one small desk
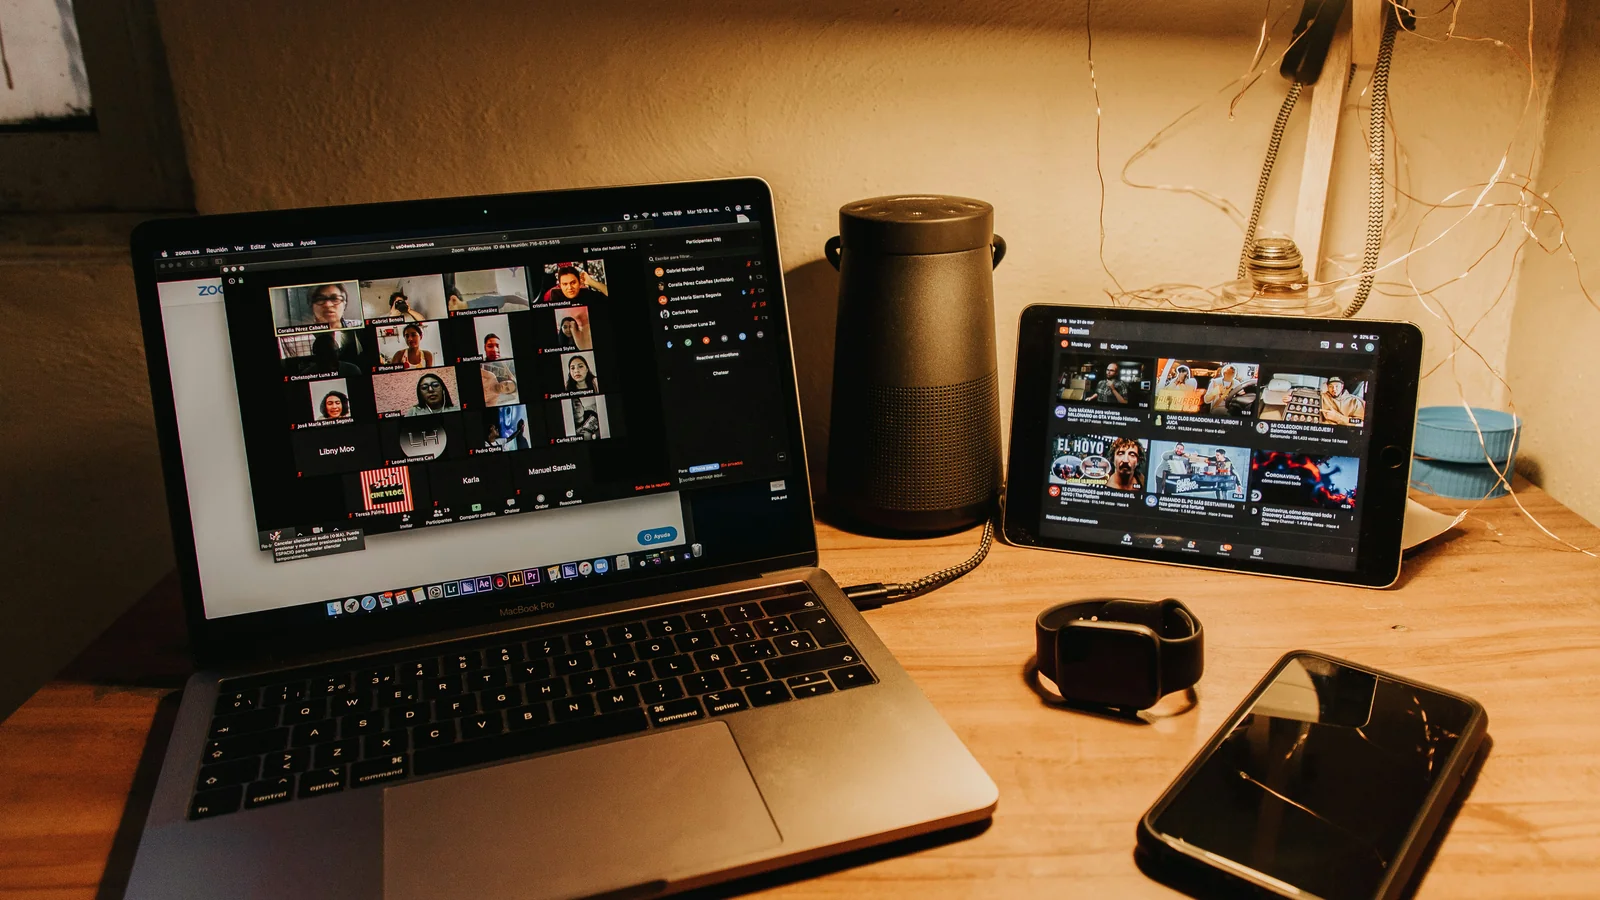
Video-call lighting has two jobs that do not always agree. Your face needs enough even light for the camera, while the desk needs a comfortable view for reading, typing and writing. A strong lamp placed in the wrong position may improve the camera preview and make the rest of the workday tiring.
Begin with the setup you already have. Sit in the usual chair, open the camera preview and turn on the room light. Notice whether the window is behind you, whether the screen reflects a lamp and whether one side of your face is much brighter than the other. Make one adjustment at a time so you can tell what changed.
The goal is not a studio image. It is a clear, comfortable view that works for a real workday. Avoid buying several lights before you know whether the main problem is daylight, screen glare, a dark background or a desk task that is difficult to see.
Place the window before choosing a lamp
Natural light is often the easiest starting point. If the window is behind you, the camera may expose for the bright background and leave your face darker. If the window is directly in front, it may feel harsh at certain times of day. Try placing it to one side of the screen and face towards the brighter part of the room.
The sun moves, so check the arrangement at the time you usually have calls. A setup that looks balanced at nine in the morning can create glare by mid-afternoon. Turn the screen slightly, adjust the chair or soften the window with a blind or curtain. Use a temporary test before changing the whole desk layout.
If you cannot change the desk position, lower the contrast between the window and the room. A sheer curtain can soften bright daylight while keeping the space usable. Close a blind part-way during a call if necessary, then reopen it when the camera is off. Do not cover a window in a way that blocks ventilation or creates a problem with heat.
Separate face light from work light
A face light helps the camera show you clearly; a task light helps you see your work surface. They can be the same lamp if it is adjustable, but many desks need two gentler sources. One shaded lamp placed beside the monitor may light your face and page reasonably well. An additional ambient lamp can soften the dark area behind the screen.
Start by moving an existing lamp. Place it slightly to one side of the camera and above eye level, angled towards your face rather than directly into your eyes. Check the preview, then lower or move it if you squint or see a bright reflection. A shaded lamp may feel softer than a bare bulb. Avoid draping fabric or paper over a lamp unless the fitting is designed for that use.
For reading or writing, put the task light where it reaches the page without casting a strong shadow from your hand. A right-handed person may prefer light from the left; a left-handed person may prefer the opposite. This is a starting point, not a rule. Move the lamp and check the page from the seated position.
Soften a bright source
Small lights close to the face can create hard shadows. A shade, diffuser or bounce from a pale wall can spread the light more gently. Do not point a powerful source straight at your eyes or place a bare bulb in the camera’s view. The aim is to brighten the working area, not to make the face look flat or overexposed.
If you use a ring light or panel, place it a little above or beside the camera rather than directly in front at close range. Try a lower brightness first. A high setting can wash out skin tones and make glasses reflect the source. Shift the light to one side and compare the result in the camera preview.
For a small room, a lamp aimed at a wall can create softer ambient light without taking much desk space. The wall colour changes the result, and a dark wall may absorb more light than a pale one. Try a small adjustment before buying a brighter bulb or adding another fixture.
Check glasses, screens and shiny surfaces
Reflections can make a call uncomfortable even when the room is bright. If you wear glasses, move the light slightly above or to the side of the lens line. A small change in angle can remove a bright rectangle from the lenses while keeping the face visible. Check the preview while turning your head, not just while looking straight ahead.
The monitor can also reflect a window or lamp. Tilt the screen or rotate it a few degrees, then check the display from the position you actually use. A glossy desk, framed picture or glass cabinet may reflect light into the camera. Moving one object may solve the problem more simply than changing the whole room.
Screen brightness is separate from room lighting. A very bright display in a dim room can feel stark, while a dim display near a bright window may be difficult to read. Adjust it to suit the room and task. If discomfort continues, take breaks and seek suitable professional advice rather than assuming another lamp will solve it.
Use a light arrangement for the rest of the day
A call setup should not make focused work worse. After the call, move the face light or switch it off if it creates glare on the screen. Keep a separate task light for paper work and a softer room source for the hours when daylight fades. If the desk is in a shared room, choose lights that can be returned quickly to their normal place.
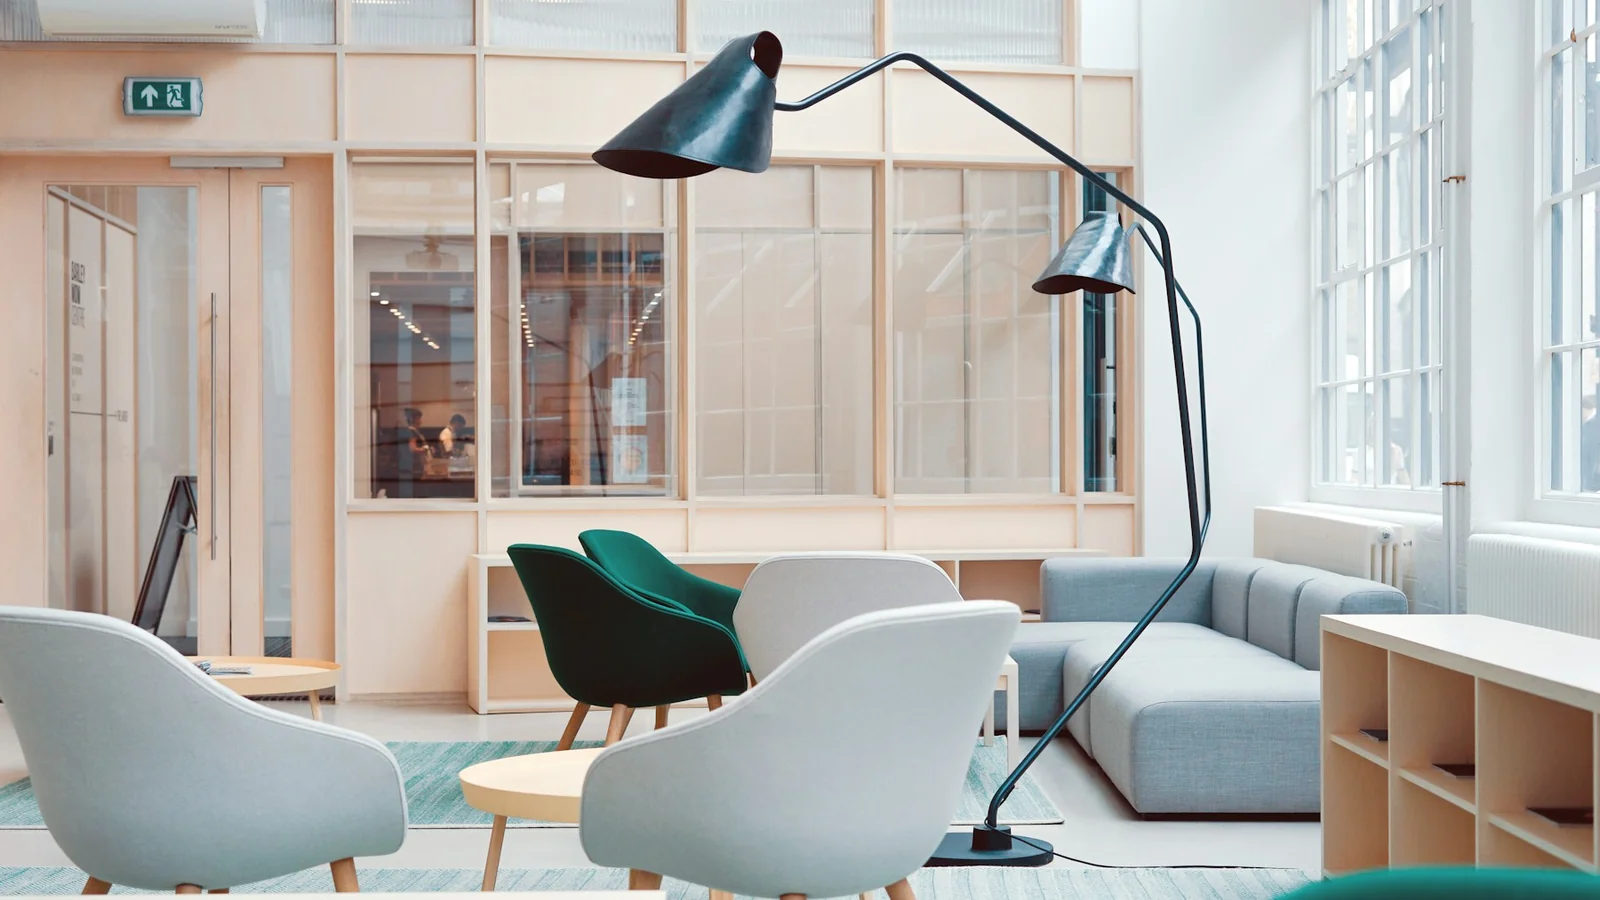
Avoid placing a lamp where its cord crosses a walkway or where it is likely to be knocked by a chair. A clamp light can save desk area if the edge is strong and suitable for the clamp. A floor lamp may keep the surface clear but occupy floor space. Measure the footprint and test the position before buying.
If the room is used for different activities, choose a light with a switch you can reach and a direction you can adjust. Complicated controls are easy to avoid after the first week. A simple, dependable arrangement is more useful than a feature-rich lamp that takes several steps to set up.
Compare three simple setups
For a desk beside a window, begin with daylight at one side, a task lamp for the page and no additional face light. This arrangement may be enough for many calls. If your face still looks dark, add a soft source near the camera and lower its brightness until it balances with the window.
For a desk in a darker corner, use a room light or lamp bounced off a wall to lift the background, then add a modest light near the camera for calls. Keep a separate task lamp aimed at the desk if you read or write on paper. Try a warmer or cooler bulb only after checking whether the current light colour is part of the problem.
For a shared living room, use a portable lamp that can be moved into place for a call and returned afterwards. A small panel or shaded table lamp may fit better than a permanent ring light. Store its cable with the lamp and keep the setup time short enough that you will actually use it.
These are starting points, not product rankings. A window direction, webcam, wall colour and camera software all change the result. Test in your own room rather than treating a photograph or generic lighting diagram as an exact prescription.
Make the pre-call check brief
Create a short check you can repeat before a call: sit in the normal position, open the camera preview, check the window and screen, adjust the lamp and confirm the microphone. This takes less time than making a large lighting change during a meeting. If the call is important, test the setup beforehand.
Keep a note of the lamp position and brightness that worked, especially if the desk moves or other people use the room. A small mark on a lamp base or a note in your calendar can save repeated experimentation. Recheck when the season changes because daylight shifts.
Avoid chasing every perceived flaw in a camera preview. Video compression, laptop cameras and room backgrounds affect the image. Clear, even light and a comfortable work position are more important than a polished studio look.
The simplest useful arrangement
Begin with the window, then separate the light for your face from the light for your work. Soften direct sources, check glare on glasses and screens, and make sure the cables and fixtures fit the room. Test the arrangement at the time you actually take calls.
A desk can support both video meetings and focused work without becoming a studio set. Use the lights you already own, change one thing at a time and add equipment only when the remaining problem is clear. The best setup is the one that looks natural on camera and still feels comfortable after the call ends.